CHINESE-AMERICAN HOME COOKING
General Tso's Chicken: Crispy Coating and a Sweet-Spicy Sauce
左宗棠鸡
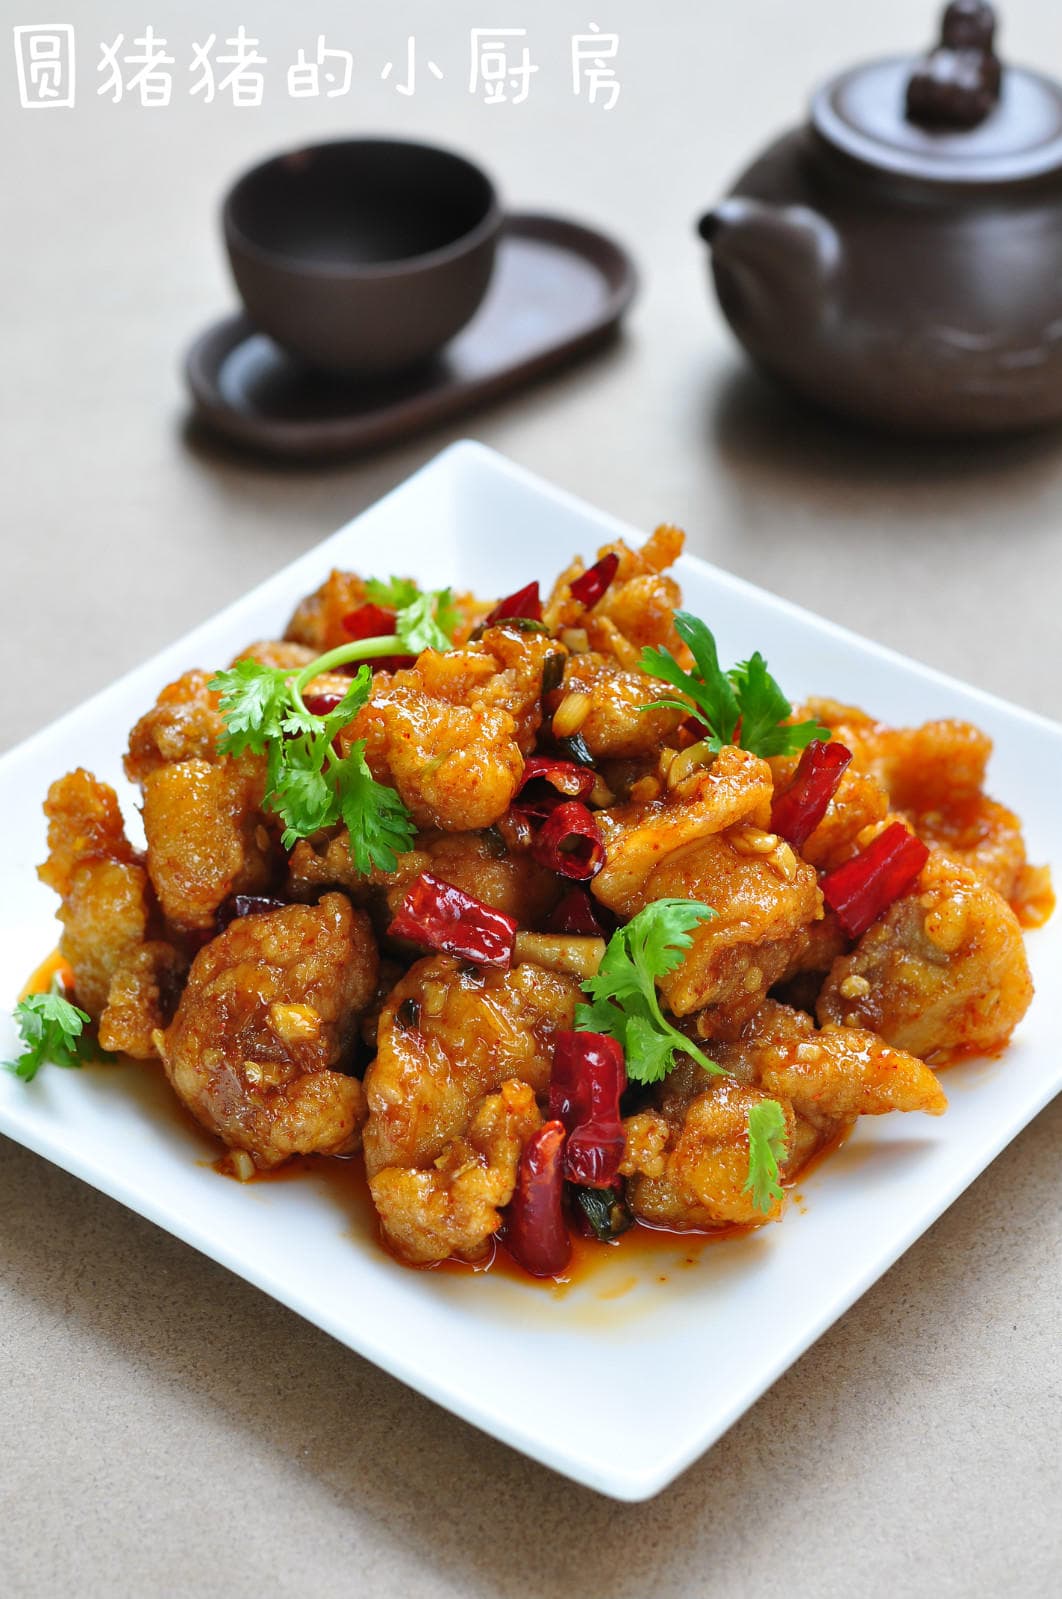
Make a small batch of General Tso's chicken with dark meat, an egg-yolk and cornstarch coating, and a sweet-spicy vinegar sauce. Follow the step photos to coat just before frying, check the chicken's center temperature and add the sauce last for a freshly crisp finish.
Published
Jump to ingredients & steps ↓9 step-by-step photos · Tap any photo for a closer look.
Before you start
- Allow about 40 minutes for deboning, preparation, oil heating, small-batch frying and the sauce. The total time and two small portions as part of a meal are estimates; larger pieces or more batches can take longer.
- Shopping note: the original recipe specifies two chicken legs by count, without a weight or precise retail cut. US and Canadian packages distinguish drumsticks, thighs and whole legs, so those counts are not interchangeable. Ask a butcher about a small comparable leg-meat portion; do not assume two large leg quarters match the photographed batch. This guide does not supply a gram conversion.
- Have a kitchen scale, measuring spoons, separate raw-meat board, deep heavy pot, oil thermometer, thin-tip food thermometer, heat-safe slotted utensil, cooling rack and separate skillet ready. The spoon convention used here is a 5 mL teaspoon and 15 mL tablespoon; the source does not provide gram conversions for those spoon measures.
- In North American stores, look for cornstarch, Chinese light soy sauce, food-grade white vinegar and plain chili oil. Cornstarch is not cornmeal; light soy is not a low-sodium label; chili crisp has solids and seasonings that plain strained chili oil may not have. Check the actual labels for ingredients and allergens.
- Prepare aromatics and the sauce with clean utensils before frying, keeping them separate from the chicken-and-egg coating. Use dry utensils around the frying pot, keep it at most one-third full of oil, and never leave heating oil unattended. Keep children away from the stove and never put water on burning oil.
Let’s cook.
Debone and cut the chicken
Remove the bones from the chicken legs, checking for small bone fragments. Pat the meat dry with disposable paper towels and cut it into similarly sized bite-size pieces. Avoid mixing very thick pieces with tiny scraps. Keep the raw chicken on a separate board, away from sauce ingredients and ready-to-eat garnish. Wash your hands and clean the knife, board and work surface after handling it.
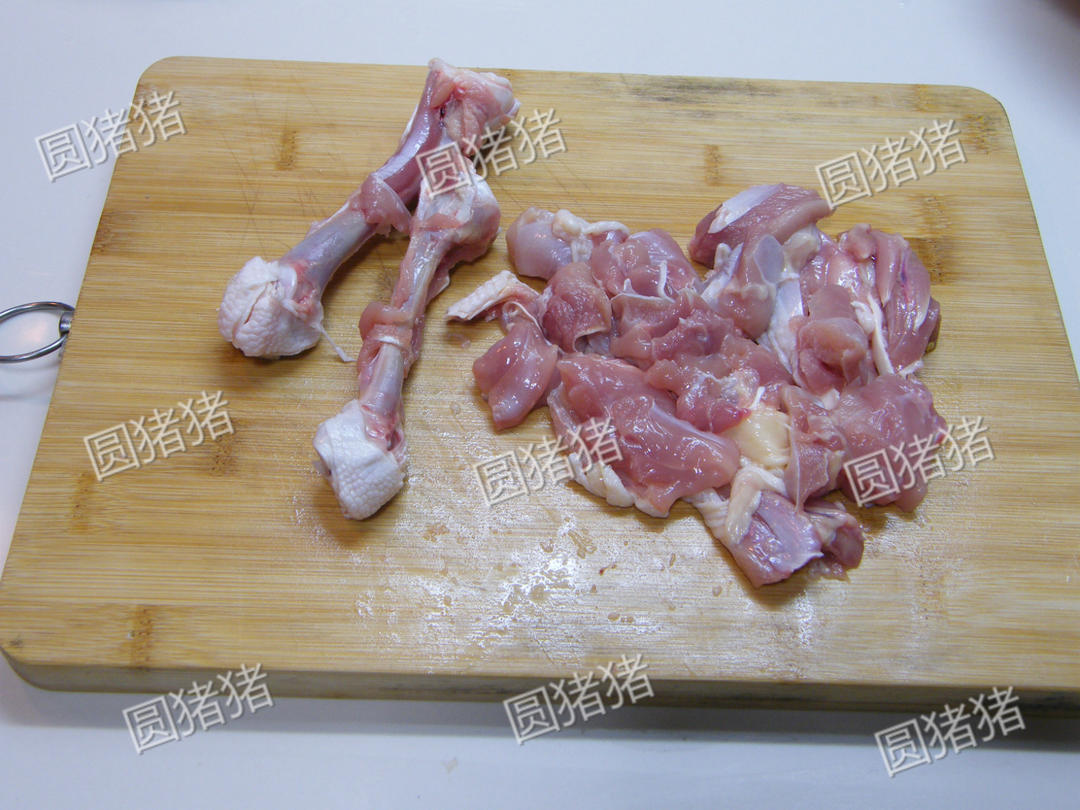
Look for thisSimilar pieces cook more evenly than a mixture of large chunks and small scraps.
Mix the sauce in a clean bowl
Using clean utensils, stir together the ginger, garlic, light soy sauce, white vinegar, sugar, the small sauce portion of cornstarch, water and chili oil. Add a little chopped scallion only if using the optional addition. Keep this bowl away from the raw chicken. Prepare the sauce before frying so the fried pieces will not wait while you measure; the sauce is still cool at this stage. Its cornstarch will settle, so stir it again just before it goes into the pan.
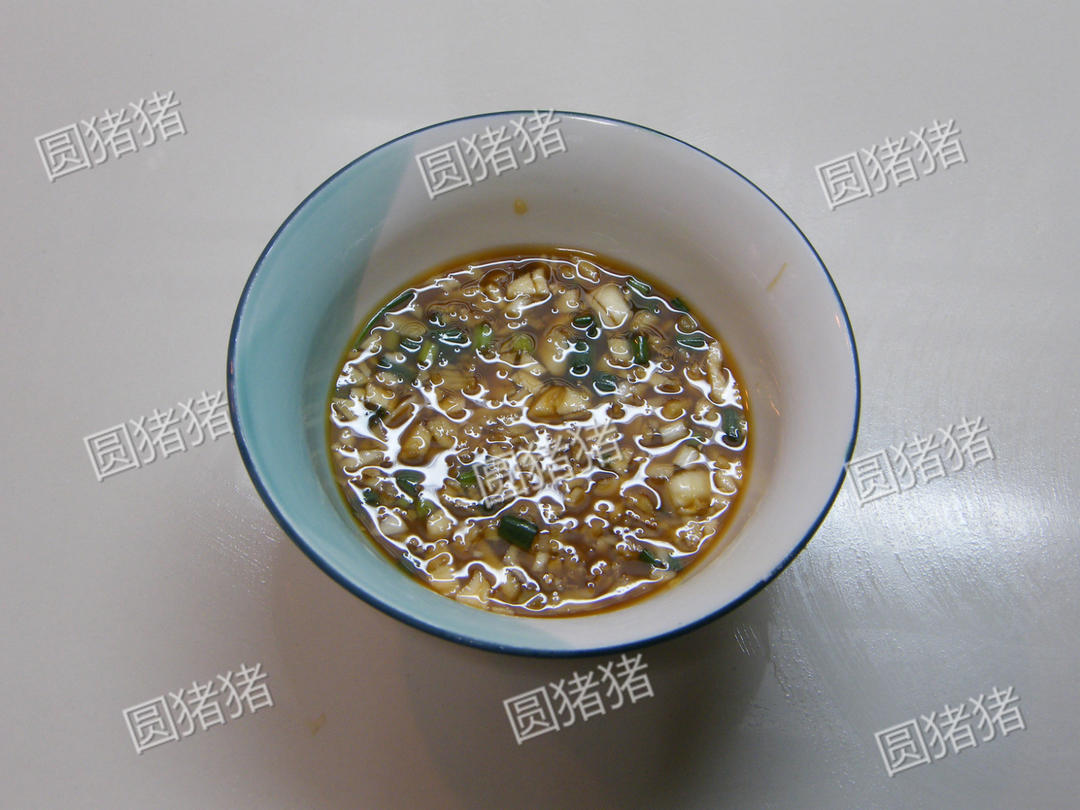
Look for thisThere are two separate cornstarch portions: a larger dry coating and a small amount mixed into the sauce.
Season, then add the coating near frying time
Coat the chicken pieces with the egg yolk and salt. If the frying setup is not ready, cover and refrigerate the chicken at 4°C / 40°F or below. Set a heavy, high-sided pot on a stable burner and add suitable frying oil without filling it more than one-third full. Heat under constant supervision toward 180°C / about 355°F, checking with an oil thermometer. When the oil is nearly ready, mix the dry-coating portion of cornstarch into the chicken until the pieces are evenly covered. Do not leave the coated chicken sitting for a long time before frying.
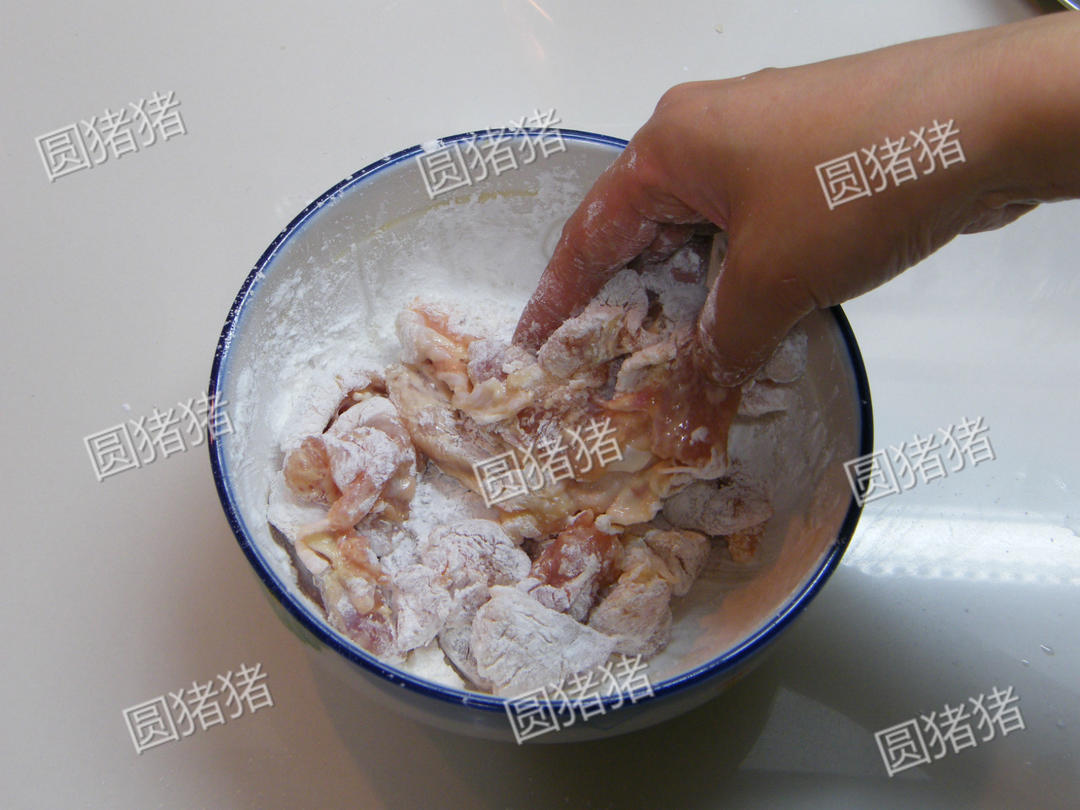
Look for thisIf making several batches, coat only the portion you can fry promptly and keep the rest refrigerated.
Fry in small batches
Once the oil reaches about 180°C / 355°F, lower the coated pieces into it one at a time with dry, heat-safe utensils, working away from yourself. Leave room between pieces and fry in batches if needed; adjust the heat to keep the oil near the target rather than automatically leaving the burner on high. Turn the pieces carefully as the coating sets. Never add water to the oil, never leave the pot unattended and do not move a pot of hot oil. If the oil smokes, turn off the heat and let it cool; a darker crust is not worth overheating the oil.
Look for thisOil temperature controls frying; a separate center-temperature check tells you when the chicken is cooked.
Check the chicken, then drain
Lift a piece clear of the oil with a slotted utensil and insert a clean thin-tip digital food thermometer from the side into its thickest center. Check each piece reaches at least 74°C / 165°F, following Health Canada's guidance for chicken pieces; return undercooked pieces to the oil and recheck. Clean the probe after contact with undercooked meat. Transfer fully cooked pieces to a clean rack over a tray and leave them uncovered while you finish the sauce. Do not put cooked chicken back in the raw-chicken bowl or use unwashed raw-meat utensils for serving.
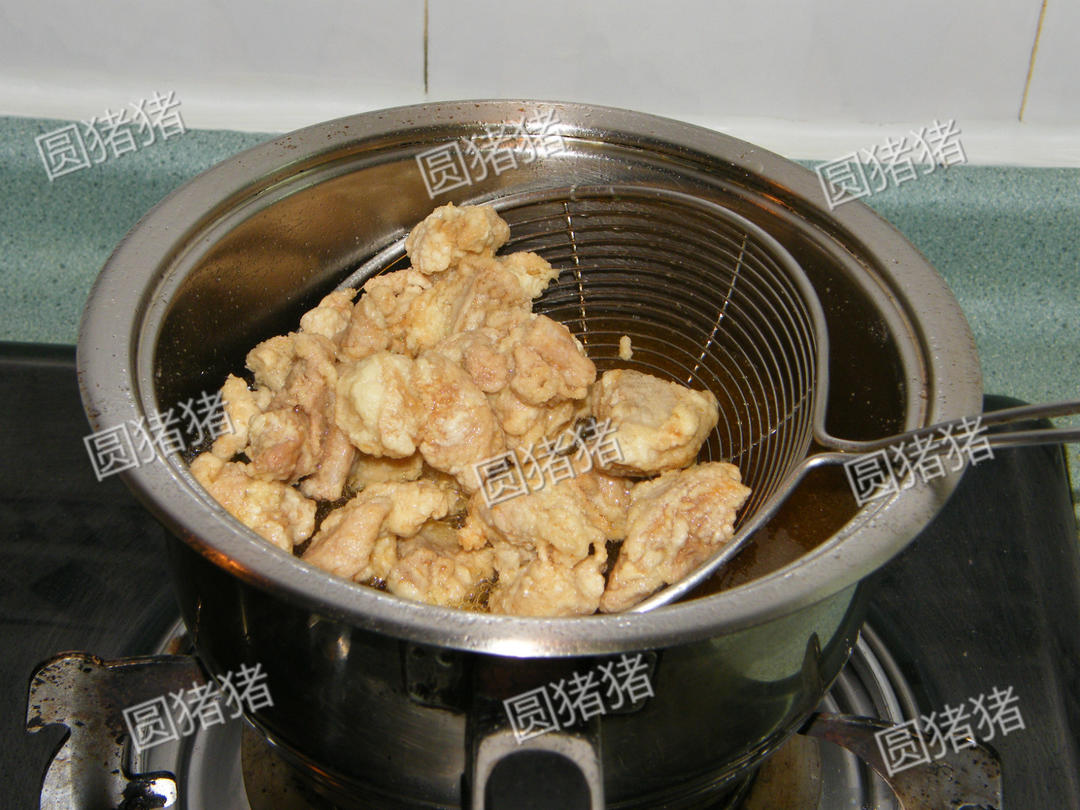
Look for thisDo not rely on golden coating alone: measure the center of each piece.
Warm the dried chilies in a separate pan
Turn off the frying burner and leave the hot frying pot safely in place to cool. In a separate clean skillet or wok, warm just enough fresh neutral oil to lightly coat the cooking surface. Add the dry chili sections over medium heat and stir briefly until fragrant, without allowing them to blacken. Keep your face away from the pan and ventilate the kitchen. Do not pour a large pot of hot frying oil out to make room for the sauce.
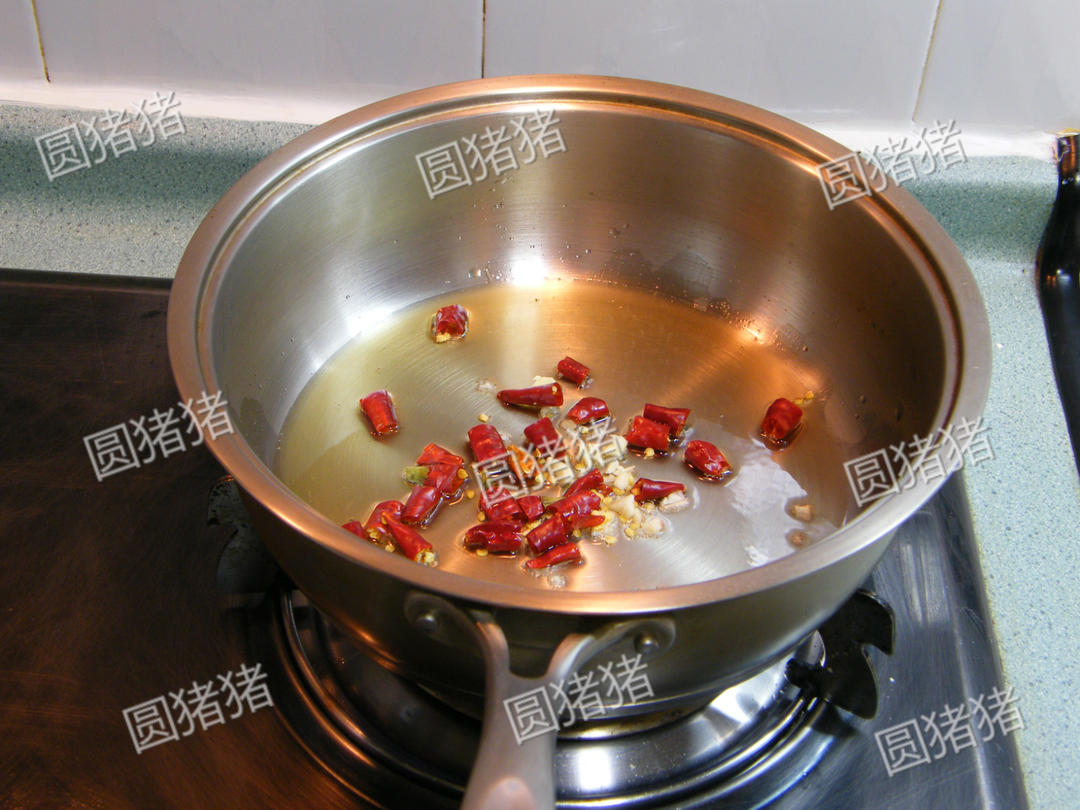
Look for thisThis is a small amount of fresh oil for the sauce stage, separate from both the deep-frying oil and the measured chili oil.
Cook the sauce until it lightly coats a spoon
Stir the sauce bowl thoroughly to lift any settled cornstarch. Lower the skillet heat and carefully pour in the sauce; it may bubble as it meets the warm pan. Bring it to a simmer, stirring, until the raw starch mixture turns glossy and thick enough to lightly coat a spoon. Keep the chicken out of the pan during this stage. If the sauce has become a stiff paste before the chicken is added, loosen it in this sauce pan with a small splash of water and stir until smooth; never add that water to the deep-frying pot.
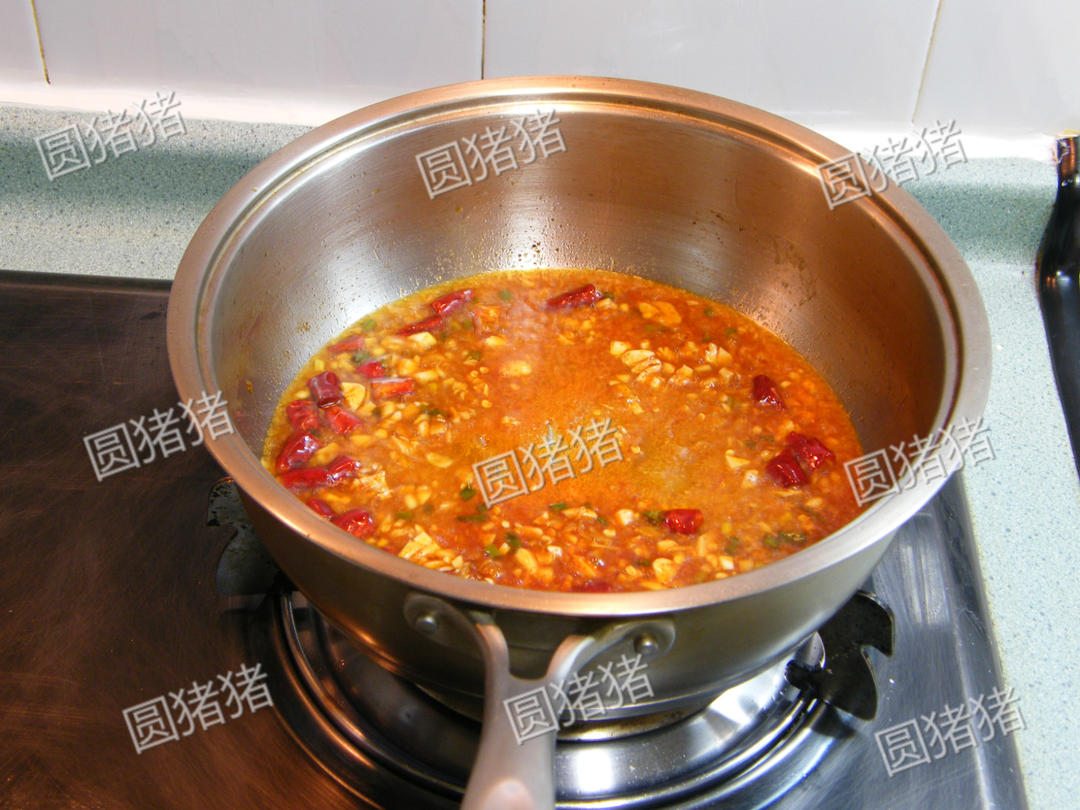
Look for thisThicken the sauce first. Adding the fried chicken while the sauce is watery leaves its coating soaking while the liquid cooks down.
Add the cooked chicken at the end
As soon as the sauce is ready, add the hot, fully cooked and drained chicken to the skillet. Keep the heat low so the sauce does not scorch while you distribute the pieces. Work promptly after frying: this brief coating stage is not intended to cook underdone chicken or reheat cold leftovers.
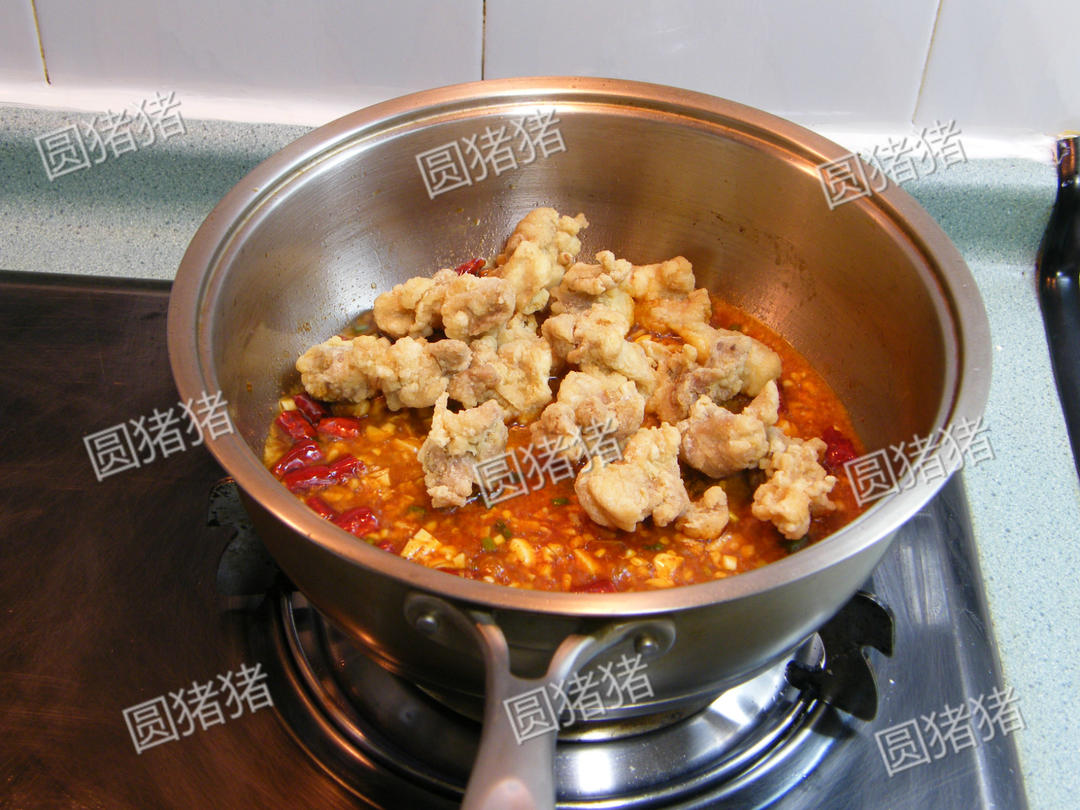
Look for thisHave serving plates ready before the chicken meets the sauce.
Toss briefly to glaze
Turn and fold the chicken through the sauce just until coated, then remove the skillet from the heat. Do not simmer the coated pieces for several minutes: the wet sauce gradually softens the crust. Transfer to a serving plate promptly, aiming for a thin coating of sauce.
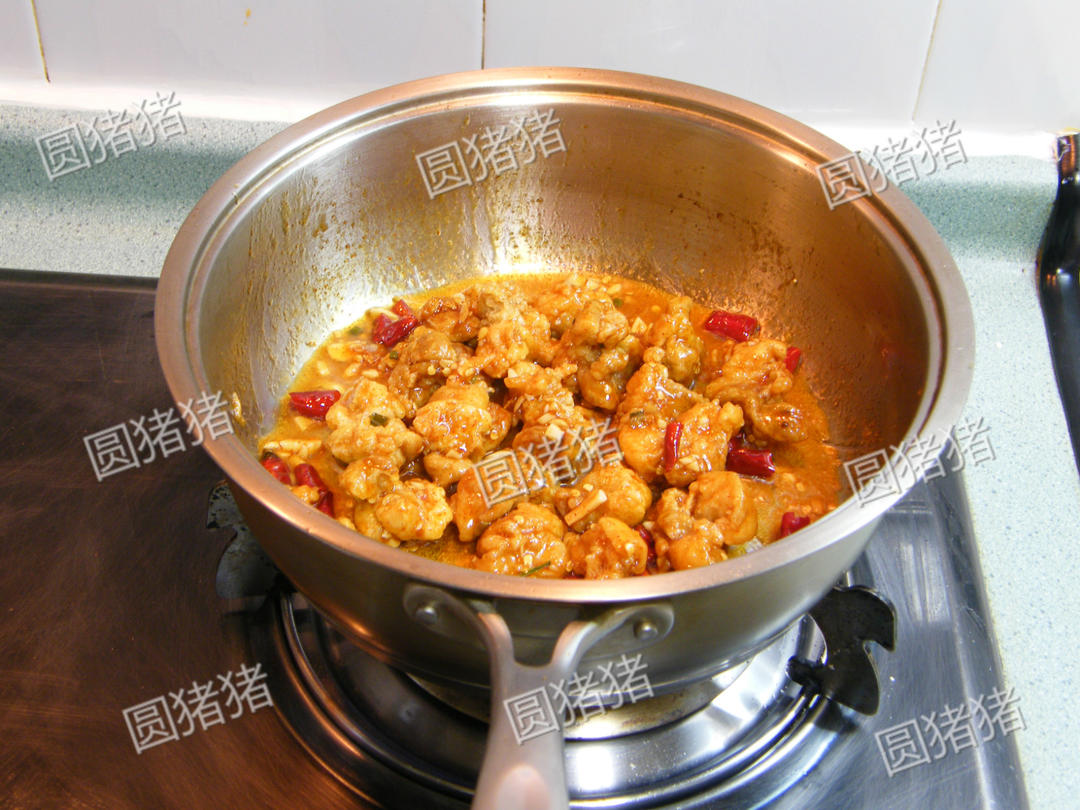
Look for thisA quick final toss limits time in the wet sauce; coating texture will still change as the dish stands.
Serve promptly and chill leftovers safely
Add optional cilantro and serve promptly with rice and vegetables if desired; those sides are not included in the ingredient quantities. Refrigerate leftovers in a shallow covered container within 2 hours, at 4°C / 40°F or below. Reheat thoroughly once to at least 74°C / 165°F in the center. Expect a softer coating after storage.
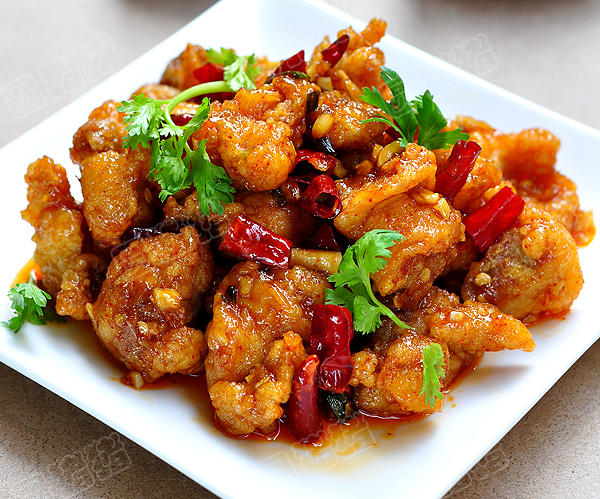
Look for thisHave rice or greens ready so you can serve the chicken as soon as it is glazed.
When it doesn’t go to plan
The chicken coating becomes soft quickly
Coat near frying time, give pieces room in the oil, drain without covering, and thicken the sauce before adding the chicken. Toss briefly and serve. Any wet glaze softens a crust with time; more cornstarch or a longer simmer is not an automatic fix.
The outside browns before the center is cooked
Make similarly sized pieces and monitor the oil rather than keeping the burner permanently high. Continue cooking until each center reaches 74°C / 165°F, checking with a thermometer. A golden photograph or a fixed number of minutes does not establish doneness.
The sauce is too thin or too thick
Stir the cool sauce again immediately before pouring because cornstarch settles. Simmer it without the chicken until it lightly coats a spoon. If it becomes pasty, add a little water to the sauce skillet and stir smooth, not to the frying oil.
The sauce is hotter or sharper than expected
Dried chilies and chili oil vary greatly, and the source does not specify vinegar acidity. Choose milder chili products or reduce them in the next batch. Use food-grade cooking vinegar and keep the original sauce separate from raw chicken if tasting it before cooking. Do not claim that a replacement has the same flavor balance.
Small details, better cooking.
- This version uses white vinegar and a separate chili oil, with no ketchup, orange juice or hoisin sauce in the base formula.
- Scallion in the sauce and cilantro on the finished plate are optional. Prepare any garnish with clean tools before handling raw chicken.
- For a larger batch, scale shopping quantities but keep oil level, pan capacity and center-temperature checks unchanged. Fry more batches rather than crowding the pot. Doubling ingredients does not mean doubling the safe cooking time.
- The two cornstarch portions do different jobs. The larger dry portion coats the chicken; the smaller portion thickens the sauce. Mixing them together in one bowl changes the recipe.
- Prepare serving plates and any rice or greens before the final toss. Crispness is best approached through late coating, manageable frying batches and brief contact with the finished sauce, not a guarantee that glazed chicken stays crisp indefinitely.
Working with what you have
Five dried chilies and plain chili oil
Less chili, or neutral oil in place of some chili oil for a milder adaptation
This editorial adjustment changes the heat and aroma; it is not a tested mild version. Check all oil labels, and keep the separate frying oil out of the sauce measurement.
One particular brand of light soy sauce
Another Chinese light soy sauce
Salt and allergens vary by product. Dark soy sauce is not an equal swap, and no gluten-free or low-sodium result is guaranteed by the word light.
Optional scallion or cilantro
Omit
Keep the ginger, garlic and dried chilies called for in the sauce; the optional greenery is separate.
Need a unit conversion? Open kitchen tools. For ingredients, visit the pantry.
Questions from the kitchen
What is General Tso's chicken?
It is a Chinese-American restaurant favorite built around fried chicken in a glossy sweet, tangy and often spicy sauce. Recipes vary. This small-batch version uses leg meat, an egg-yolk and cornstarch coating, ginger, garlic, light soy sauce, white vinegar and chili oil; it is not labeled Cantonese.
Is this the same as orange chicken or Cantonese sweet and sour pork?
No. This recipe has no orange juice or zest, and it uses chicken rather than the pork and pineapple in our Cantonese sweet and sour pork recipe. They can share coating-and-sauce techniques without being the same dish or having the same flavor.
What should I serve with General Tso's chicken?
Plain rice and a simple cooked green vegetable balance the rich sauce. Garlic choy sum is one option. Get the sides ready before the final toss so the glazed chicken can go straight to the table.
Why are there two amounts of cornstarch?
The larger amount is the dry chicken coating; the smaller amount goes into the cool sauce as a thickener. Keep them separate. Add the coating near frying time, and stir the sauce again before cooking because its starch can settle.
How do I keep General Tso's chicken from getting soggy?
Avoid coating too far in advance, fry in uncrowded batches, drain uncovered and thicken the sauce before the cooked chicken goes in. Toss briefly and serve promptly. Sauce eventually softens fried coating, so this is not a make-ahead crispness promise.
Is General Tso's chicken very spicy?
It depends on the version and chili products. This base recipe includes both dried red chilies and chili oil. Choose milder products or reduce the chili for a milder adaptation, but do not assume five chilies always give the same heat.
Can I make this exact recipe in an air fryer?
This method was written for oil frying and has not been developed or tested for an air fryer or oven. Its dry coating and timing cannot simply be copied into a different appliance. Do not use the frying-oil temperature as an air-fryer setting or invent an equal cooking time.
How do I know the chicken is cooked safely?
Check the thickest center of each piece with a clean thin-tip digital thermometer, aiming for at least 74°C / 165°F. Measure the chicken, not just the oil. Clean the probe after undercooked-meat contact and keep cooked food off raw-meat plates and utensils.
Can I freeze it or prepare it ahead?
No freezer method has been developed for this recipe, and sauced chicken loses crispness as it stands. For leftovers, refrigerate within two hours at 4°C / 40°F or below and reheat thoroughly once to at least 74°C / 165°F. Expect a softer coating; this guidance is not a tested freezer-to-air-fryer method.
Prefer to send a private correction?
FROM YOUR KITCHEN
Made it? Make it yours.
Share your plate, tell us what you changed, or ask a cooking question. Your experience can help the next home cook.
Kitchen notes 0
The table is ready for your first plate.
No public notes yet. A home-cooked result does not have to look perfect to be worth sharing.
Next on the table
 01
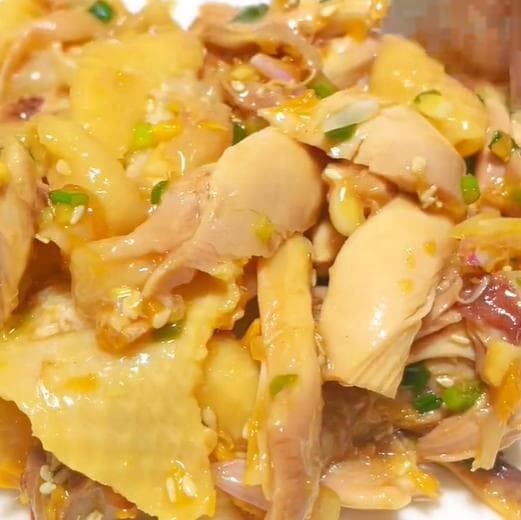
01Cantonese Ginger Scallion Chicken
Cantonese ginger scallion chicken combines tender poached chicken with a warm ginger, shallot and scallion dressing. This shredded version of jiang cong lao ji is easy to serve over rice, with the aromatic sauce tossed through just before eating.
 02
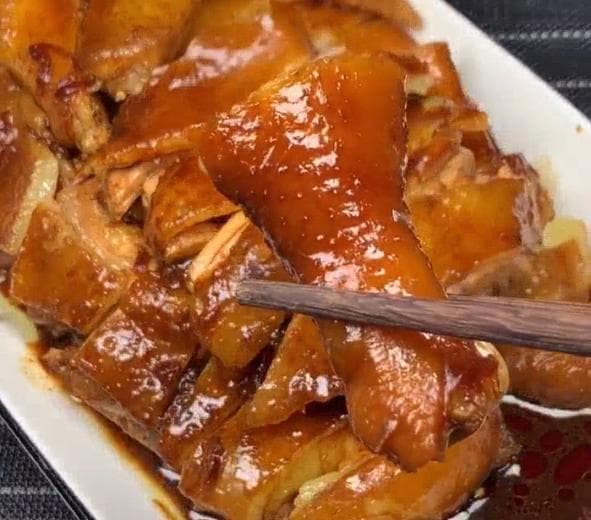
02Cantonese Soy Sauce Chicken (Si Yau Gai)
Cantonese soy sauce chicken, or si yau gai, gets its glossy brown glaze from light soy sauce, dark soy sauce and brown sugar. This home-style half-chicken version is browned first, then gently braised with ginger, garlic and scallion.
 03
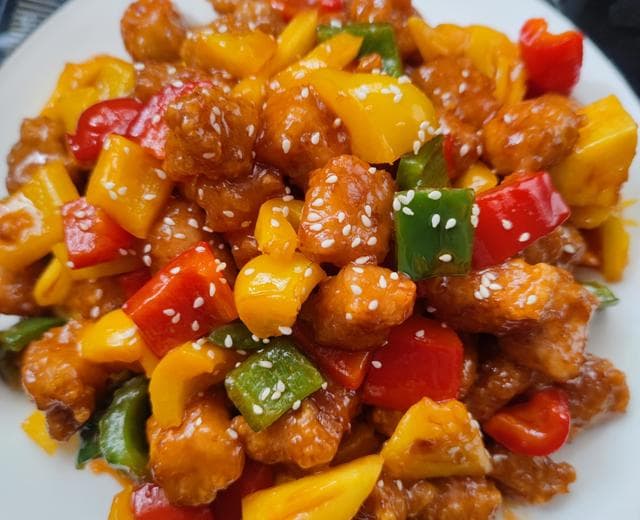
03Cantonese Sweet and Sour Pork with Pineapple
Cantonese sweet and sour pork, often called gu lou yuk, combines crisp starch-coated pork with pineapple, peppers and a glossy tangy sauce. Toss the fried pork through the finished sauce at the last moment to keep its crust as crisp as possible.